How to Optimize Water Heater Temperature
water heater temperature optimization featured image featuring plumber adjusting water heater temperature
Did you know that you can change and optimize the temperature of your water heater? That’s right. You can change it. However, what you consider the optimal water heater temperature can differ from what others consider optimal.

Here at Scott English Plumbing, Inc., we understand that different people have different opinions on what optimal hot water temperature is. In light of that understanding, we decided it would be a great idea to put together a guide on setting your water heater temperature to fit your needs. So, let’s get started!

Different Hot Water Uses Demand Different Water Heater Temperatures

Optimal water temperature varies depending on what tasks in which you plan to use hot water. For example, if you run a commercial kitchen, then you’ll need your water hot enough to sanitize dishes. However, water hot enough to sanitize dishes (around 140 to 160 degrees Fahrenheit) is far too hot to use for bathing. Additionally, if you have children, then you’ll want your water hot enough to kill most forms of bacteria. However, you don’t want to set it so high as to potentially scald yourself or your children. For those situations, water heater temperatures closer to 120 degrees Fahrenheit will do the trick just fine

When it comes to optimizing your water heater temperature, the only hard-set rule is never to set your water heater below 120 degrees Fahrenheit. Temperatures lower than that provide an ample breeding ground for several species of harmful bacteria, mold, and mildew. Additionally, for every ten degrees above 120 degrees Fahrenheit, you will increase your overall energy usage by about three to five percent.

Specific Use Cases and Their Appropriate Water Heater Temperature Settings

Besides the examples we described above, several other use-cases have their own water temperature requirements. Let’s break them down.

Dishwashers that don’t pre-heat
There are some types of dishwashers around (usually older models or ones in commercial settings) that don’t pre-heat water to help sanitize and clean your dishes. If you have a dishwasher that doesn’t pre-heat, then you should set your water heater temperature to 140 degrees Fahrenheit. Lower temperatures are far less effective at killing harmful foodborne pathogens and bacteria species.

Small children and the elderly
If your home or business regularly receives visits from or provides housing for small children or the elderly, then the optimal water heater temperature setting is around 120 degrees Fahrenheit. Higher temperatures are much more likely to injure children and the elderly than average-aged adults. In fact, according to the CPSC (Consumer Product Safety Commission)

“The majority of injuries and deaths involving tap water scalds are to the elderly and children under the age of five. The U.S. Consumer Product Safety Commission (CPSC) urges all users to lower their water heaters to 120 degrees Fahrenheit. ” – CPSC Safety Alert Publication 5098

People with respiratory illnesses or suppressed immune systems
If you or anyone else in your home has a respiratory disease or suppressed immune system, then you should set your water heater temperature to 140 degrees. Doing so will help prevent the sick from contracting other diseases that healthier people may be able to ward off without medical aid.

How to Pick the Right Temperature for You

Let’s assume you’re a healthy adult living in a household with other healthy adults. To optimize the temperature of the water heater for this assumed household, start by setting the temperature to 120 degrees. Then, if you’re not satisfied, increase the temperature in ten-degree increments until you’ve found your optimal water temperature.

What is the Most Environmentally Friendly Water Heater Temperature?

According to the EPA (Environmental Protection Agency), the optimal water heater temperature setting for both a happier planet and for safe usage is 120 degrees Fahrenheit. Even at this low setting, water heaters still account for about 17 percent of your home’s energy bill (DirectEnergy.com). Moreover, as mentioned earlier, for every ten degrees over 120, you will increase your energy consumption by three to five percent.

Still Having Trouble? Contact Scott English Plumbing, Inc.

If you have trouble either figuring out your ideal temperature or with the actual process of changing the temperature for your water heater, you can always reach out to us here at Scott English Plumbing, Inc. We employ some of the best water heater technicians in the state. So, don’t hesitate to contact us! We’re always here to help!
Home Flooding – Common Causes and Solutions

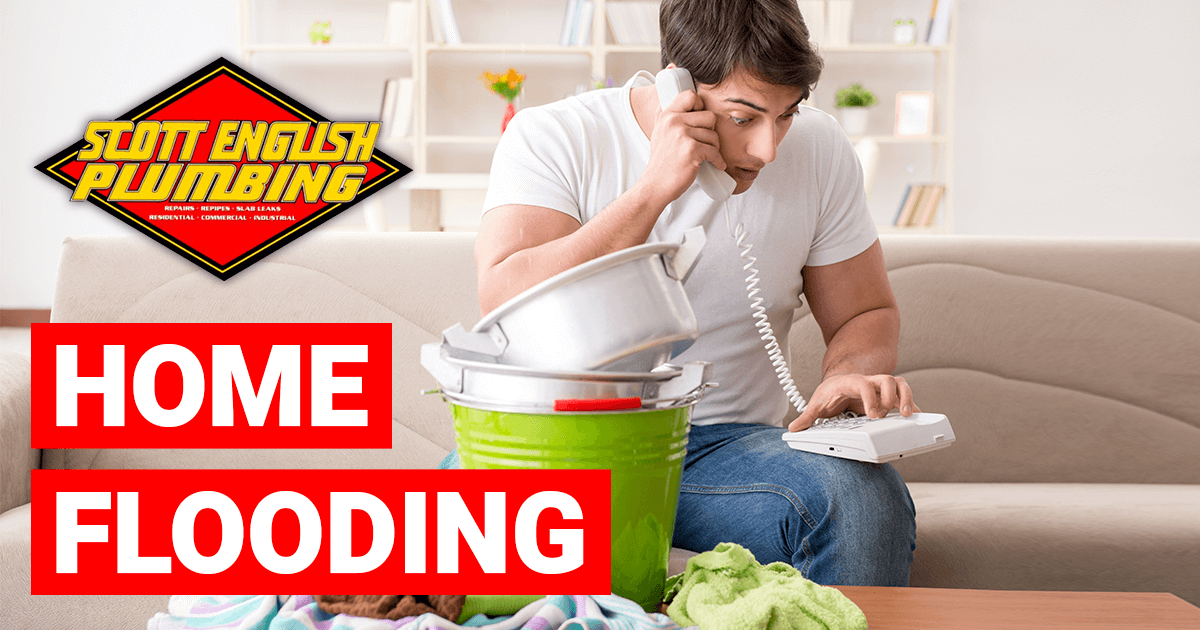
Home flooding banner image featuring stressed man calling a plumber because his home flooded
Home flooding is not a phenomenon reserved for those living below sea level or near large bodies of water. It can happen to anyone, at any time, for a large variety of reasons. However, don’t let that fact get you down. There are several things that you can do to help nip your home flooding problem in the bud.

However, the type of precautions you take will depend on the cause of your home flooding risk. So, before we talk about preventing a flood, we will first need to discuss the sources of flooding. So, without further ado, let’s get started!

Broken Pipes – A Common and Dastardly Cause of Home Flooding Problems

A broken pipe can happen at any time, anywhere, and for a variety of reasons. They are one of the most dastardly (and most common) sources of home flooding around. A broken pipe can flood an entire property in a matter of seconds. Floods caused by broken pipes cause countless amounts of property and home damage.

Fortunately, preventing a broken pipe is much easier than cleaning up after a flood caused by one. To help mitigate your broken pipe risks, you can take the following precautions:

  • Keep Your Pipes from Freezing: From insulation to pipe heaters and everything in between, there is no one-size-fits-all solution to frozen pipes. To help prevent frozen pipes, it is usually best to take a multi-pronged approach. You should keep a trickle running on each tap in your home, keep a heat source near external pipes, and place insulated freeze caps on your outside spigots and faucets. If you experience a broken pipe due to freezing, then turn off the water to your building and contact our team of plumbers right away.
  • Watch Out for Pipes When Performing Home Improvements and Maintenance: Another common source of broken pipes is home maintenance and improvement error. Sometimes, even something as seemingly simple as mounting your TV to the wall can turn disastrous if you accidentally hit a water line with your drill. To prevent home maintenance-related to broken pipes, make sure to check whatever surface or area you’re working is free of plumbing pipes and appliances. Also, make sure to shut the water off to the locality where you’re performing your work. That way, if you do accidentally drill through a water line, you won’t flood your whole house in the process.
  • Check Your Pipes for Signs of Wear and Tear: Inspecting your pipes regularly for signs of damage can go a long ways towards preventing home flooding. Check your pipes for visible cracks or leaks, and look out for signs of rust and corrosion. If you do notice any potential problem areas, then contact our plumbers for fast assistance right away.

Plumbing Appliance-Related Home Flooding Causes and Prevention

Plumbing appliances often have quite an ample water supply. Things like your dishwasher, water heater, and washing machine all use gallons upon gallons of water in their day-to-day operations. Since they use gallons upon gallons of water, they can be massive sources of flooding problems in homes and businesses. To prevent flooding due to a broken or faulty plumbing appliance, you can take the following precautions:

  • Try FloodStop Systems: FloodStop systems detect issues with plumbing appliances and then shut off your water supply in the event of an emergency. These electronic systems are relatively inexpensive to install and can save you a lot of money in repairs by preventing floods. If you’re interested in a FloodStop system, then contact us here at Scott English Plumbing, Inc. for more information.
  • Keep a Watchful Eye: Besides secure solutions like electronic flood detection systems, the only other way to prevent flooding due to faulty appliances is to keep a watchful eye over their operation regularly. Make sure your dishwasher drains, water heater, and that your washing machine lines are periodically maintained and looked after.

How to Prevent Home Flooding Due to Tree Roots and Drain Clogs

Tree roots can invade sewer lines, causing them to burst or break, and then, naturally, you wind up with a massively flooded yard. In a similar vein, drain clogs can cause such severe backups that pipes break or become dislodged from each other at joints, causing a flood as well. You can prevent both types of floods with proper vigilance and homeowner maintenance. To avoid flooding due to tree root intrusions or severe drain line clogs, take the following precautions:

  • Remove Trees Near Sewer Lines: Have any trees that are growing near main sewer lines professionally removed down to the roots. Tree roots actively seek out water sources in the ground and then grow towards the said water source. Guess which part of your home has a ready source of decently available water? That’s right, your main sewer line.
  • Keep Your Drains Clean: Another precaution you can take is to have your drains regularly cleaned and inspected by professionals. Clean drains are happy drains, and, therefore, are much less likely to succumb to clog-based flooding.
  • Don’t Use Chemical Drain Cleaners: Chemical drain cleaners can severely damage your pipes and plumbing. While yes, they do provide temporary relief from slow-moving and clogged drains, they, ultimately, cause more harm than good. So, to prevent floods, avoid using chemical drain cleaners. Instead, you can use a drain snake or contact our plumbing professionals to keep your drains free and clear of obstructions.

Conclusions

There are several different sources of home flooding problems. Fortunately, there are also several preventative maintenance steps you can take to help prevent those floods from occurring in the first place. However, if you do have a flooding issue, then you’ve come to the right place. If even after taking all the previously mentioned precautions you still wind up with a flooded home or business, then please don’t hesitate to give us here at Scott English Plumbing, Inc. a call. We’re always standing by to help with your home flooding prevention and repair needs!

What To Do When Your House Smells Like Sewage

What to do when your house smells like sewage featured image featuring plumber holding nose
Let’s set a scene. You’ve just come home after a long, arduous and rainy day at work only to discover that something smells like sewage. After a little introspection, you realize that this seems to happen all the time. So, what gives? Why does your house have significant sewer odor, and what can you do about it? Let’s break it down.

Why Does Your House Smell Like Sewage?

Sewer smells are, most often, due to escaping sewer gasses. Sewer gasses form when waste and other organic compounds decompose. Usually, escaping sewer gasses can be traced back to the following sewer problems:

  • A cracked or broken sewer line
  • Loose or missing sewer trap plugs
  • Dried-out water barriers

What To Do When Your House Smells Like Sewage

Since there are several potential causes of excessive sewer smells, there are also several different possible solutions. To make things a little easier, we’ll discuss solutions for each reason, one at a time. Otherwise, you may wind up choosing the incorrect solution for your particular sewer smell problem. So, without further ado, let’s get started.

Get Rid Of Sewer Smells Caused By A Cracked Or Broken Sewer Line

This is the one sewer smell problem that you really can’t solve on your own. Instead, if you suspect a broken, cracked, or otherwise compromised sewer line on your property, then your best bet is to contact our team of sewer professionals. For one, diagnosing the problem will require sophisticated inspection equipment that the average homeowner doesn’t have access to. Also, repairing a broken or cracked sewer line should always be handled by a licensed professional. Otherwise, you run the risk of contaminating your entire property with sewage.

Fixing Sewer Smells Due To Loose Or Missing Sewer Trap Plugs

The sewer trap is a U-shaped trap designed to trap sewer gasses in your sewer line or septic tank. Typically, water naturally sits at the bottom of the trap and acts as a barrier between sewer gases and your home. Sewer traps all have a cap to seal sewer gasses if the water barrier doesn’t provide enough protection.

Unfortunately, these caps can break, become loose, or go missing entirely. When this happens, sewer gasses can escape, and you’ll be greeted with a foul odor. To fix the problem, you can simply replace or tighten the existing sewer cap, and you can then kiss your sewer smell problem goodbye.

Ridding Your Home Of Sewer Odors Caused By A Dried-Out Water Barrier

If the water barrier in your sewer trap has dried out, then sewer gasses can escape. Usually, dried-out sewer traps occur due to a lack of regular use.

To fix the problem, all you have to do is run some water through the affected fixture. Doing so fills the trap belly with water and helps re-establish the water barrier. However, adding water isn’t a guaranteed solution. If you find that adding water to the trap doesn’t solve your problem, then contact us here at Scott English Plumbing, Inc. instead.

Still Having Issues? Contact Scott English Plumbing, Inc.

If you have tried and failed to find and solve your sewer odor problems, then don’t fret. Here at Scott English Plumbing, Inc., we pride ourselves on being the go-to company for all things regarding sewer smells and sewer repair issues. So, don’t hesitate! Contact us for help eliminating your sewer odor today!

How to Get Rid of Drain Flies

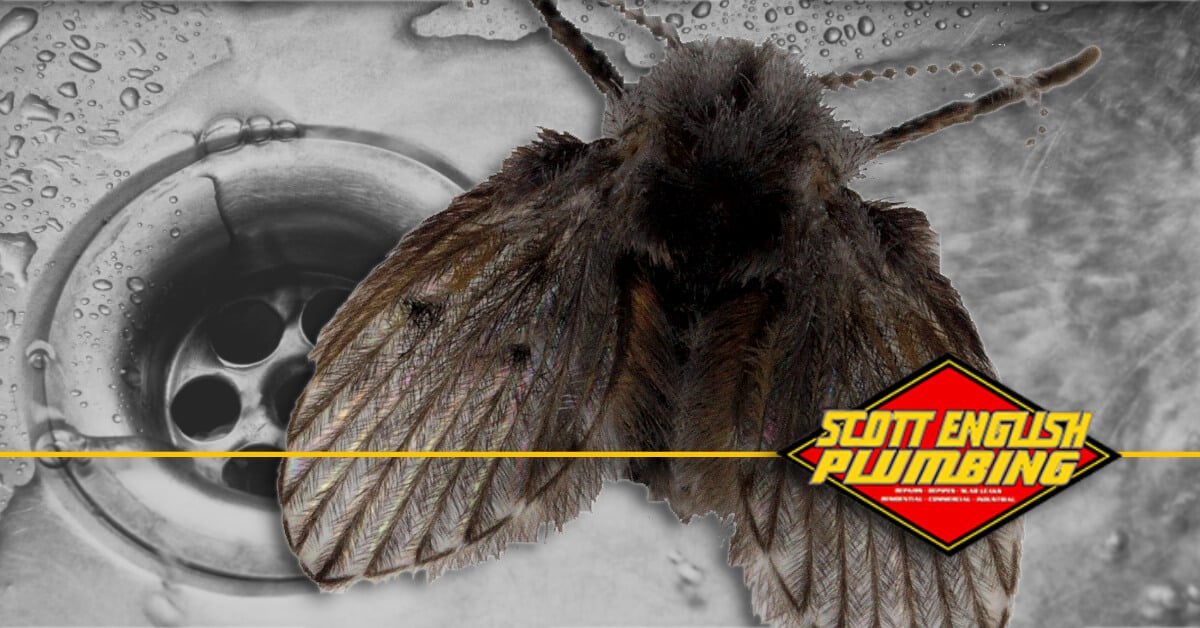
how to get rid of drain flies featured image featuring drain and drain fly
Have you ever walked into your kitchen or bathroom in the morning to discover little flies hovering around your drains? If you have, then you most likely have a drain fly infestation. That’s right; flies can live, thrive, reproduce, and die all in your drain lines. In this post, we’ll talk about what causes these sewer-dwelling pests and the steps you can take to eradicate them. So, without further ado, let’s get started!

What are Drain Flies, and are they Dangerous?

Drain flies — also known as drain moths, sewer flies, and filter flies — are flying insects that feed on decomposing organic matter in your drains. They’re often found hovering around drains and showers. However, they can also live in exposed sewage, near septic tanks, and in other areas with standing water and decomposing organic matter.

Since the insects don’t bite or sting, they aren’t at all dangerous on their own. However, due to their environment, they can carry several species of harmful bacteria and viruses commonly found in sewage and other decomposing organic material. So, in light of that information, they’re far from wanted house guests.

How to Get Rid of Drain Flies Yourself

Okay, now that you know what drain flies are and the risks they pose to your health and safety, it’s time to talk about what you can do to get rid of the little nasties. Eradicating these flies is only a two-step process.

Step 1 – Make Sure You’re Actually Dealing With Drain Flies

Drain flies are not the only species of insect that you may find hovering around your sinks and shower. In fact, fruit flies are often mistaken for them due to their proclivity to feed on decomposing fruits and vegetables. So, before we get into how to get rid of them, we should first talk about how to determine whether or not your insect problem is due to drain flies in the first place.

Luckily, checking for drain flies is relatively simple. All you have to do is put a few pieces of tape, sticky side down, over the opening of the drain to be tested. Leave the tape overnight and check it in the morning. If you find flies stuck to the bottom side of the tape, then you most likely have drain flies.

Step 2 – Thoroughly Clean the Infested Drain

Once you’ve determined that your insect problem is due to drain flies, it’s time to get rid of the little buggers. The best way to rid your home of these pests is to clean out the drains where they live and reproduce thoroughly. However, regular drain cleaning techniques may not be enough to get rid of the pests permanently. To clean your drains for pest eradication, you will need to do the following:

First, Use Hot Water: The first thing you should do when getting rid of drain flies is to pour at least one gallon of hot water down the drain. Warm water helps to break up any grime and gunk that the flies use for food or to hatch their eggs. You can also use a wire drain brush to help break up the dirt and gunk further than hot water will on its own.

Next, Use Gel-Based Drain Cleaner: Normally, we wouldn’t recommend you put gel-based drain cleaners in any of your pipes. However, due to their high concentration of bleach, gel-based drain cleaners are great at killing the flies and their larva. Gel cleansers are also great at removing the remainder of the gunk and grime that they live in. Leave the drain cleaner solution in your drains for several hours.

Finally, Flush Your Drain with Water: After you’ve let the gel-based drain cleaner sit in your pipes for a few hours, its time to flush your drains clean. Run water through the drains for a solid fifteen minutes. Doing so will help to make sure none of the residual gel-based drain cleaner remains in your drain line.

Once you’ve completed the previously mentioned steps, test your drain for drain flies by using tape again. If you find new flies the next morning, then repeat the process until they’re gone for good.

Plumbing Maintenance Checklist

Plumbing maintenance checklist banner image featuring man inspecting plumbing issue
Here at Scott English Plumbing, Inc., we pride ourselves on providing top-of-the-line plumbing maintenance and repair work. However, we also understand that many home and business owners like to do their own plumbing maintenance. In light of that fact, we’ve put together a home plumbing maintenance checklist that you can use to make sure that none of your plumbing goes unchecked. So, without further ado, here is the Scott English Plumbing, Inc. plumbing maintenance checklist:

Piping Maintenance Checklist

  • Check for leaks throughout your entire home
  • Test all of your shut-off valves for water supplies and under certain plumbing fixtures (like toilets and dishwashers)
  • Look out for signs of corrosion. Corrosion on copper pipes will be bluish-green. For galvanized steel pipes, corrosion will be rust-colored (it is rust, after all). While corrosion itself isn’t a sign of trouble, it is a harbinger of leaks to come.

Maintenance Checklist for Drains, Faucets, and Sinks

  • Check your drains for bubbling, gurgling, or slow drainage. Any of those issues are signs of a clogged drain and should be addressed ASAP.
  • Clean out all your drain traps underneath your sinks to help prevent future clogs from forming.
  • While you’re under the sink, you might as well check for any visible signs of leaks. Even something as seemingly harmless as a little moisture buildup around pipes can signify a leak.
  • If you have a garbage disposal, then follow the maintenance instructions included in your user manual. Even if you don’t have the manual, you can always clean out your garbage disposal by placing a few ice cubes made of white vinegar into the system and turning it on.
  • Check your faucet aerators and showerhead for debris and clogs. Faucet aerators are the little screens that fit over the end of faucets and are usually easy to unscrew by hand.

Bathroom and Laundry Room Plumbing Maintenance

  • Inspect caulking and seals around the tub, shower, sink, and toilet. If any caulking looks dry, cracked, or otherwise off in some way, then scrape off the old caulking and apply new liquid silicon.
  • Try to shake your toilet (gently). If it wiggles, then check the mounting bolts located at the bottom of the toilet and near the back. If those are tight and the toilet still moves, then you may need the help of a professional to remount your toilet to the flange.
  • Speaking of toilets, remove the tank lid of every toilet in your home and check for signs of damage.
  • Check for leaking toilets. To do so, put a small amount of food dye in the water stored in the tank. If any of the food die shows up in the toilet without flushing, then you have a leaking toilet.
  • Examine any washing machine hoses for cracks or visible signs of brittleness. Make sure all the connections are secure and that the surrounding area is dry and free of excess moisture.

Water Pressure and Water Heater Maintenance

  • Check your water pressure using a test gauge. Ideally, your water pressure should be somewhere between 40 and 65 PSI (Pounds per Square Inch).
  • Flush your water heater and replace the anode rod annually.
  • Make sure that your water heater’s pressure relief valve and temperature relief valve are functioning.
  • Learn the locations of your main water shut-off valve, your sewage cleanouts, and test them annually to ensure everything is as it should be.