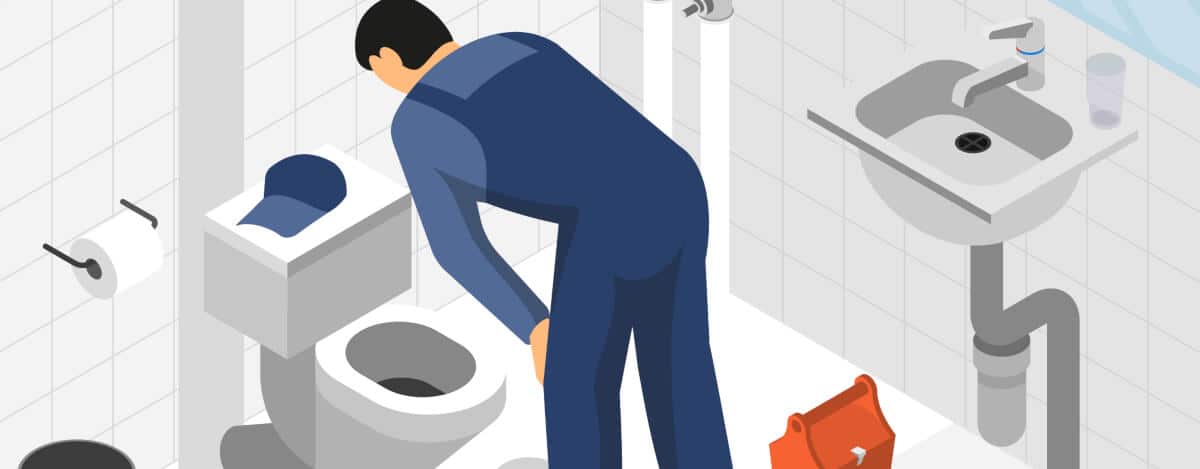
Water Heater Problems – How to Handle Them

Water Heater problems banner
Due to a long life span of one to two decades, most individuals will never have to worry about replacing a dysfunctional water heater. Regardless, they should still be aware of possible problems that may arise, because an overlooked problem with your water heater can be cataclysmic. The following are water heater problems that could potentially occur:

A Lack of Hot Water

Have you ever been taking a nice hot shower, when all of a sudden, the water turns icy? If so, it may be the result of a more substantial demand for hot water than your water heater is capable of supplying. Roughly 75% of the capacity of a water heater should be hot water. The amount of water, in gallons, that your household requires determines what the size of your water heater should be.

There is also the possibility of a faulty dip tube, which, if broken, can cause hot and cold water to merge in the tank. After inspection, if this does not seem to be the source of the problem, another possible cause is a cross-connection. Water heaters usually receive their water from the same supply as other household appliances. So, this possibility can be tested by turning off the water supply to your water heater. Once you have turned off the water supply, turn on the hot water tap of a faucet. If water comes out, it could be a sign that cold and hot water are merging, resulting in a lack of hot water. However, if this is not the case, the likely cause is a faulty gas pilot or thermocouple, and you’ll need a replacement.

Discolored Water

The most common of water heater problems is a decaying sacrificial anode rod. If you are experiencing rust-colored water, the inside of your tank is corroding. On a positive note, due to the commonality of this problem, the sacrificial anode rods are relatively cheap to replace, running under $50 at hardware stores. To keep things working correctly, you should monitor your sacrificial anode rod every 4-6 months.

Odor

If your water heater is giving off the smell of rotten eggs or sulfur, chances are your sacrificial anode rod is eroded. If it is severally corroded, bacteria form in the tank, which will cause the odor. To fix the problem, change out the sacrificial anode rod and flush the water heater with a hose from an outside water source. While this often gets rid of the problem, it can be a daunting and risky task. So if you are unsure, seek the help of a licensed professional.

Noise

A buildup of various matters in your tank could be the cause of the sound. However, merely flushing out the system should clear up the problem.

Leaks

Don’t automatically assume that the pool of water at the base of the water heater is a leak. In many cases, condensation is actually to blame. However, if after closer inspection you find that your water heater is in fact leaking, check the valve. If the valve is not the culprit, the tank may need replacement.

It is essential to monitor your water heater regularly because early detection of a problem is the best way to avoid further damage.

Get Help from Our Water Heater Professionals!

Call the experts at Scott English Plumbing, Inc. today for help with all of your water heater problems. They offer regular maintenance on your unit, complete repair service, and installation of water heaters. With more than 19 years in the business, Scott English Plumbing, Inc. strives to offer quality service at affordable prices 24 hours a day and seven days a week.

DIY Garbage Disposal Installation

DIY Garbage disposal installation banner image
Are you after the convenience that only a quality garbage disposal can provide? Are you bold enough to do the installation on your own? If so, then these are the things that you should know about installing garbage disposals, step by step.

The Tools and Materials You’ll Need for DIY Garbage Disposal Installation

Of course, before you can do any installation, you need to prepare all the tools and materials that you will need apart from the garbage disposal unit itself. Doing so ensures that you can get the job done correctly and in the least time possible. Here are the things you need to prepare:

  • PVC saw
  • Screwdriver (flat head and Philips)
  • Adjustable pliers
  • Circuit tester
  • Wide rubber band
  • Plumber’s putty
  • Wire nuts
  • Electrical tape
  • Electrical caps
  • 20 Amp 120 Voltage Under-Sink Outlet

How to Install Your New Garbage Disposal

Although the installation is not as easy as you may want it to be, the good news is that by following a few simple steps, you will be able to install your garbage disposal unit competently. Follow this step by step process to prepare for garbage disposal installation:

  1. A new garbage disposal from Scott English.
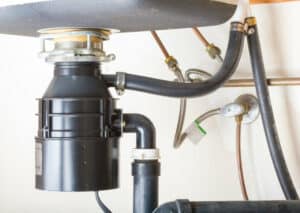
Cut power to the outlet your disposal will use. Shut it down by taking out the fuse at the electrical panel or by shutting down the circuit breaker that powers the plug.
  2. Uninstall the existing disposal, if there is one. Make sure that you clean the old putty from the area as well before putting in the new unit. The drain lines should also be disconnected completely. Our plumbers can do this for you if you’re not up to the task.
  3. Remove the old putty from the sink opening. Turn over the mounting assembly and loosen all the mounting screws to access the snap ring.
  4. With the use of a screwdriver pry the snap ring from the sink flange and separate the parts as the mounting assembly comes apart.
  5. Apply a generous amount of putty around the sink opening and slip the fiber gasket along with the metal backup ring over the flange.
  6. Put the mounting ring against the backup ring as you hold the fiber gasket in place. Use the wide rubber band around the flange to keep the parts in place.
  7. Slide the snap ring up the flange until you hear it pop in place. Tighten the mounting screws to hold the entire assembly in place against the sink.
  8. Knock out the plug and turn the unit on its side. Get the flathead screwdriver to push against the plug and allow it to go down the unit.
  9. Turn the disposal upright to remove the gasket and the ring. Turn the disposal upside down again to get the plug.
  10. Then turn the disposal upright again to replace the gasket and ring. Find the electrical hole to insert a wire clamp.

Before proceeding with the following steps, make sure that there is no power to the garbage disposal unit

  1. What do you put in your garbage disposal?Remove the screw holding the access hole cover to be able to pull out the wires from the unit. Put the electrical wire into the clamp you installed earlier.
  2. Connect the wires using the same color combination: black-to-black and white-to-white. Make sure that the wires are secure before hooking up the ground wire.
  3. Push the wires into the access hole and put the cover back in place. Make sure that the cover is screwed on and tighten the electrical clamp.
  4. Lift the unit into place and insert the top end of the mounting gasket into the assembly. Turn the lower mounting ring clockwise until the mounting tabs are snugly in place. Lock the tabs over the ridges with the use of a pair of adjustable pliers.
  5. Attach the P-trap to the trap arm and the tailpiece. The discharge tube should go into the T-fitting, but do not tighten the slip nut completely. The other end of the discharge tube should go into the disposal system. Take a screwdriver to secure the metal flange and tighten the slip nuts. Doing so completes the installation of the drain lines.
  6. The bell should go over the disposal drain and clamped in place. The disposal bell of the dishwasher should slide to the barbed connection of the disposal. Clamp the fitting securely with a screwdriver.
  7. Run water through to check for leaks in the system.

Contact Scott English Plumbing, Inc. for More Garbage Disposal Help and Information

You have just finished installing the garbage disposal unit. This should take you not more than a day to complete. Should you encounter to any problems with your plumbing, contact Scott English Plumbing immediately.

Remember that it is always best to call a plumber rather than to attempt to do this job on your own. As you can see, it’s a rather complex process that might be difficult to complete if this isn’t something you do every day. Call Scott English Plumbing to get help with your garbage disposal installation in Orange County. With more than 19 years of experience in the plumbing industry, they know everything there is to know about installing garbage disposal.

How to Install a New Toilet

install a new toilet banner image
Here at Scott English Plumbing, Inc., we thought it’d be a good idea to explain to our customers how they can install a new toilet in their home or business. Honestly, it’s easier than you’d probably expect. Let’s get into it!

Step 1 – Measure for and Pick Out Your New Toilet

Before you get your hands dirty, you’ll first need to pick out your new toilet. However, even before that, you must make sure your new toilet fits in your bathroom.

First measure from the back wall to the closest bolts on your existing toilet. Make sure you measure from the wall behind your toilet itself, and not from any existing baseboard. Then, you should also measure the distance from the wall to the water supply lines on the floor. These measurements will be essential to have on hand when you’re out shopping for your replacement toilet.

After you’ve finished measuring, head down to your local hardware or home improvement store to get shopping. Make sure that the measurements of your new toilet closely match the ones you took previously. Also, keep in mind that toilet bowls come in many different shapes and sizes. Some are ovals, some round, and some are elongated. You’ll want to make sure you select a toilet that will fit in your bathroom while still providing you with all the leg room you need. In other words, you need to pick a toilet that you can comfortably sit on.

Step 2 – Assemble Your Tools and Materials

Nothing is worse than stopping a project halfway through because you forgot your putty knife. So, while you’re at the hardware store picking out your new toilet, it would be wise to make sure you have all the tools and materials that you’ll need for the job. A list of the necessary tools and materials for toilet replacement is as follows:

  • Safety glasses
  • Hacksaw
  • Putty knife
  • Work gloves
  • A level
  • Your new toilet
  • Closet bolts
  • Washers and nuts
  • Toilet shims
  • Wax toilet ring (if your new toilet doesn’t come with one)

Step 3 – Remove the Existing Toilet

Now that you have your new toilet and all the materials and tools you need, it’s time to get to work. Before you can install your new toilet, you’ll have to remove the existing one. Replacing your toilet is a multi-step process, so let’s break it down.

  • 1 – Turn off your water supply and remove any water in the exiting toilet’s tank with a sponge or rag.
  • 2 – Disconnect your water supply lines from your exiting toilet’s tank. You should also remove the nuts on the bottom of the tank so that it lifts freely from the bowl.
  • 3 – Remove water from the toilet bowl using a sponge. Then, loosen the nuts attaching your toilet bowl to the floor.
  • 4 – Carefully lift your toilet and set it aside out of your way.
  • 5 – Using a putty knife, remove the existing wax ring where the toilet attaches to the floor. Never reuse a wax toilet ring.
  • 6 – Block the hole where your toilet was to prevent dropping things inside and to help reduce sewer odors from seeping into your bathroom.
  • 7 – Remove the old closet bolts (they’re located near the hole in the floor where your toilet used to be).
  • 8 – Repair the flange if necessary. You can also purchase replacement flanges at your local hardware store.

Step 4 – Install the New Toilet

After you’ve finished removing your old toilet, it’s time to start installing your new one. To do this, we’ll basically be running through the steps for removal in reverse. Let’s get into it.

  • 1 – Install your new closet bolts.
  • 2 – Place your new toilet bowl upside down on a towel. Then, soften your new wax ring under warm water and gently press it into the hole at the bottom of the new toilet bowl.
  • 3 – Take the rag out of your drain and carefully place your new toilet bowl over the closet bolts installed in step 1. Make sure you firmly press your new toilet into place and make sure that it is square with the wall behind it.
  • 4 – Secure the new toilet bowl to the floor using the appropriate washers and nuts. Alternate tightening the nuts to keep the pressure even. Don’t overtighten or you’ll risk cracking your brand new porcelain throne.
  • 5 – Use your hacksaw to cut off any excess bolt sticking up from the base of your new toilet. Then put on the caps that come with your new toilet to prevent damage to the bolts.
  • 6 – Prepare your new toilet tank for installation. Flip over the tank and install the bolts and seal (they’ll slip into pre-cut slots in the toilet)
  • 7 – Place the tank on top of the bowl and tighten the nuts to the bolts. Again, make sure you don’t overtighten them. You should also alternate tightening to keep the pressure even.
  • 8 – Attach your water supply lines and turn the water back on.
  • 9 – Check for leaks around the gasket and supply line. If you have leaks, tighten your nuts and make sure that your seals are all properly set in place.
  • 10 – Install the toilet seat, and you’re done!

Too Much Trouble? Contact Scott English Plumbing, Inc. Instead!

If installing a toilet on your own seems like too big of a task, then don’t fret. The professional plumbers here at Scott English Plubming, Inc. are toilet experts, and we’re always here to help. We’ll get your new toilet up and running in no time! So, what are you waiting for? Get in touch with the Scott English Plumbing, Inc. team of toilet specialists today!